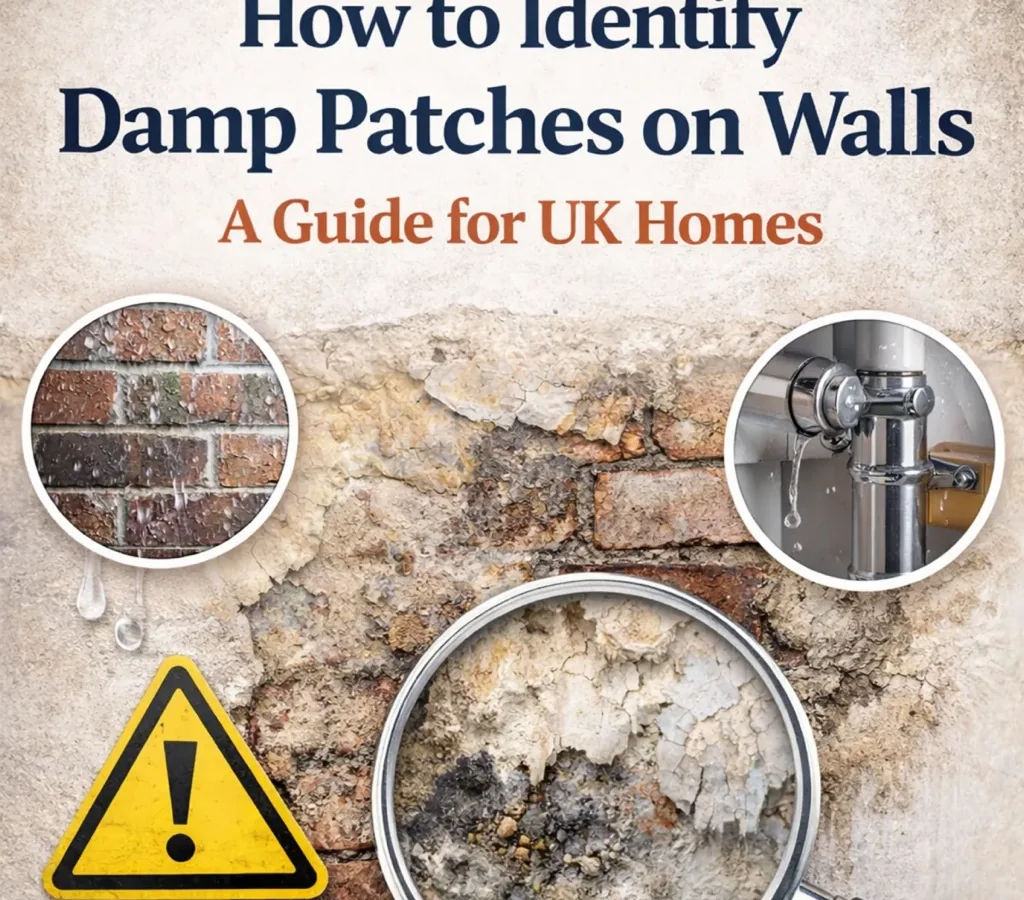
Damp patches on walls are one of the most misdiagnosed problems in UK homes. The cause determines the fix — and getting it wrong wastes time and money. This guide helps you identify the source quickly and act before serious damage sets in.
How to Identify Damp Patches on Walls
Start by looking at where the moisture appears and when it gets worse. Location and timing tell you more than colour or size alone. A patch near a window corner suggests condensation. A patch at skirting board level points strongly to rising damp.
Touch the affected area when the wall looks dry to the eye. If it feels cold and slightly wet — condensation is the likely cause. If the plaster feels soft or crumbles easily — moisture has been present for a long time.
Check whether the patch grows larger after heavy rainfall. If it does, rainwater intrusion or a plumbing issue is the cause. Condensation does not follow rainfall patterns at all.
Quick Diagnosis Table
| Symptom |
Likely Cause |
How to Confirm |
First Action |
| Patch appears after rain |
Rainwater intrusion |
Check gutters, roof, window seals |
Inspect external drainage |
| Patch at base of wall |
Rising damp |
Salt tide marks, flaking plaster |
Call a damp specialist |
| Patch in corners, near windows |
Condensation |
Black mould spots, cold surface |
Improve ventilation |
| Patch near pipes or ceiling |
Hidden plumbing leak |
Grows regardless of weather |
Call a plumber |
| Bubbling paint, peeling wallpaper |
Long-term moisture buildup |
Soft plaster, musty smell |
Find source before redecorating |
Condensation: The Most Frequent Cause of Damp Patches on Walls
Condensation forms when warm moist air meets a cold wall surface. The moisture settles into the wall and slowly causes damage over months. It is the most frequent reason wet patches appear in British homes.
It is most common in bedrooms, kitchens and bathrooms with poor airflow. Black mould spots often appear alongside the wet areas on the wall surface. The mould feeds on moisture and organic matter trapped inside the plaster.
Keep indoor humidity below 60% to prevent condensation from forming on cold surfaces. A simple digital hygrometer costs under £10 and gives an accurate daily reading. Install one in the worst-affected room and check it every week.
How to Fix Condensation on Walls
Open windows for at least 10 minutes every morning — this makes a measurable difference. Install extractor fans in bathrooms and kitchens rated at minimum 15 litres per second. Use a dehumidifier in rooms where moisture keeps returning despite regular ventilation.
Avoid drying laundry indoors without ventilation — this adds significant moisture to indoor air. Keep a consistent temperature throughout the home to reduce cold spots on wall surfaces. Even a small temperature increase on a wall stops condensation from forming.
Rising Damp: A Serious Structural Issue
Rising damp occurs when groundwater travels upward through brickwork by capillary action. It rarely appears above one metre from floor level — this is a reliable diagnostic marker. The clearest sign is a horizontal white salt tide mark on the plaster.
Plaster below the tide mark feels soft, and paint blisters or peels away from the surface. Skirting boards may rot at their base even without any visible standing water nearby. This type of moisture requires professional intervention rather than DIY remedies.
A damp-proof course injection creates a chemical barrier inside the wall structure. This stops groundwater from rising further and allows the wall to dry fully. Never redecorate over affected areas — the problem will return within a few months.
Hidden Leaks That Cause Damp Patches on Walls
A hidden leak is the most difficult moisture problem to diagnose accurately. The water source is often several metres from where the stain actually appears. Faulty plumbing, roof defects and failed window seals all create this pattern of damage.
Turn off the water supply for 30 minutes and watch your water meter closely. Any movement on the meter confirms an active leak somewhere in the system. A qualified plumber can use thermal imaging to locate leaks without opening up walls.
Roof leaks tend to produce staining near the ceiling or on upper-floor walls. After heavy rain, check the loft for wet timbers or stained insulation boards. Most roof leaks can be identified and repaired within a single professional visit.
When to Call a Professional
Call a specialist if moisture returns within weeks after the wall has fully dried out. Also seek professional advice when plaster is crumbling over a large surface area. A RICS-registered surveyor can produce a written diagnosis report for insurance purposes.
Rain Intrusion Through External Walls
Rain intrusion happens when water enters through cracks, gaps or failed mortar joints. It is most common in older properties with solid brick construction and no cavity wall. Wet patches appear within hours of heavy rainfall and gradually dry out afterwards.
Check the external wall for cracked render or eroded pointing between bricks. Blocked gutters and downpipes force water to run directly down the wall face. Clean gutters twice a year — in spring and autumn — to prevent this pattern of damage.
A silicone-based external wall sealer can help in mild cases of water penetration. Always apply it to a fully dry wall surface only. Sealing an active moisture problem traps water inside and accelerates internal damage significantly.
Warning Signs You Should Never Ignore
A persistent musty smell in a room almost always signals hidden moisture inside the walls. Do not mask it with air freshener — locate and fix the source first. The smell comes from mould and bacteria growing inside wall cavities over time.
Peeling paint or wallpaper lifting from the bottom edge is an early warning sign. Crumbling plaster at skirting board level indicates prolonged moisture exposure over many months. These signs mean the problem has been developing longer than it visually appears.
For technical guidance on structural moisture, see the
Wikipedia overview of structural damp and the
Building Research Establishment.
Key Parameters at a Glance
| Parameter |
Recommended Value |
| Safe indoor humidity |
40–60% relative humidity |
| Condensation risk threshold |
Above 70% relative humidity |
| Rising damp maximum height |
Rarely above 1.0–1.2 m from floor |
| Minimum extractor fan rate |
15 litres per second |
| Daily ventilation minimum |
10–15 minutes of fresh air |
| Gutter cleaning frequency |
Twice yearly — spring and autumn |
| Wall drying time after fix |
6–12 months for full drying |
Frequently Asked Questions About Damp Patches on Walls
How do I know if it is condensation or a leak?
Condensation almost always appears in corners and near cold external walls. It typically comes with black mould spots that worsen noticeably in winter.
Tape a piece of kitchen foil tightly to the wall surface and leave it for 24 hours. If moisture appears on the outer surface — that confirms condensation. However, moisture behind the foil means water is coming from inside. This simple test costs nothing and gives a clear answer before calling anyone out.
Can I paint over a wet patch on my wall?
No — paint applied over active moisture will bubble and peel within days. Therefore, fix the root cause first and allow six to eight weeks of full drying time. Then apply a damp-seal primer before any decorating work begins.
How long does a wet wall take to dry out?
It depends on wall thickness, ventilation and how long the moisture was present. For example, a wall that has been damp for several months may need up to twelve months to fully dry out. Therefore, do not rush this stage — rushing almost always means doing the job twice.
Also, heat the room consistently and open windows every day. Do not replaster until a moisture meter reads consistently below 20%.
Is rising damp covered by home insurance?
Almost never. Insurers typically treat rising damp as a gradual maintenance issue rather than accidental damage. Therefore, check your specific policy wording carefully before assuming any coverage exists.
Always get a written report from a RICS-registered surveyor before starting any repair work. In other words, documentation before repairs is the single most important step you can take. Insurers routinely reject claims where work was carried out before a professional assessment.
When should I call a specialist?
Call one immediately if the patch returns after the wall has dried out. Also contact a specialist if basic checks have completely failed to identify the source.
A typical specialist visit costs between £150 and £300. By contrast, full replastering or structural remediation can easily run into thousands of pounds. However, the most important reason to act early is that small problems become large ones very quickly. Do not wait for the damage to spread any further.
Three Steps to Solve the Problem for Good
First, identify the source correctly using location, timing and visible signs — never redecorate over the problem. Second, fix the root cause completely before touching the wall surface at all. Third, allow the wall to dry fully and test with a moisture meter before any redecorating.
Most moisture problems respond quickly to the right treatment when caught early. Act on the first sign rather than waiting for damage to spread further. A small repair today prevents a costly structural job next year.
See also: how to treat black mould on walls and improving home ventilation on a budget.